

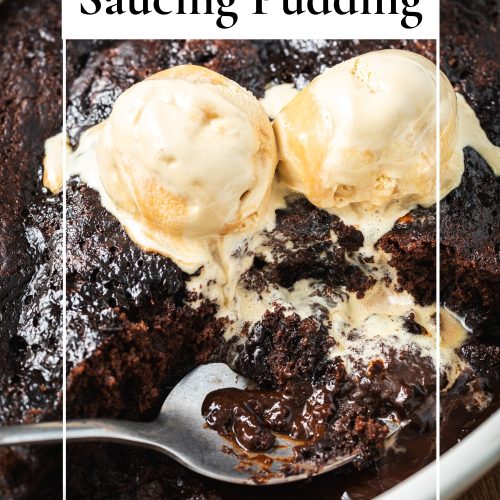
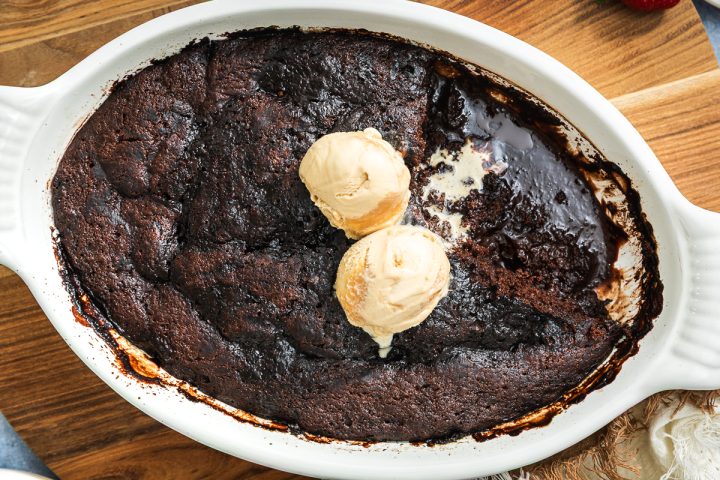
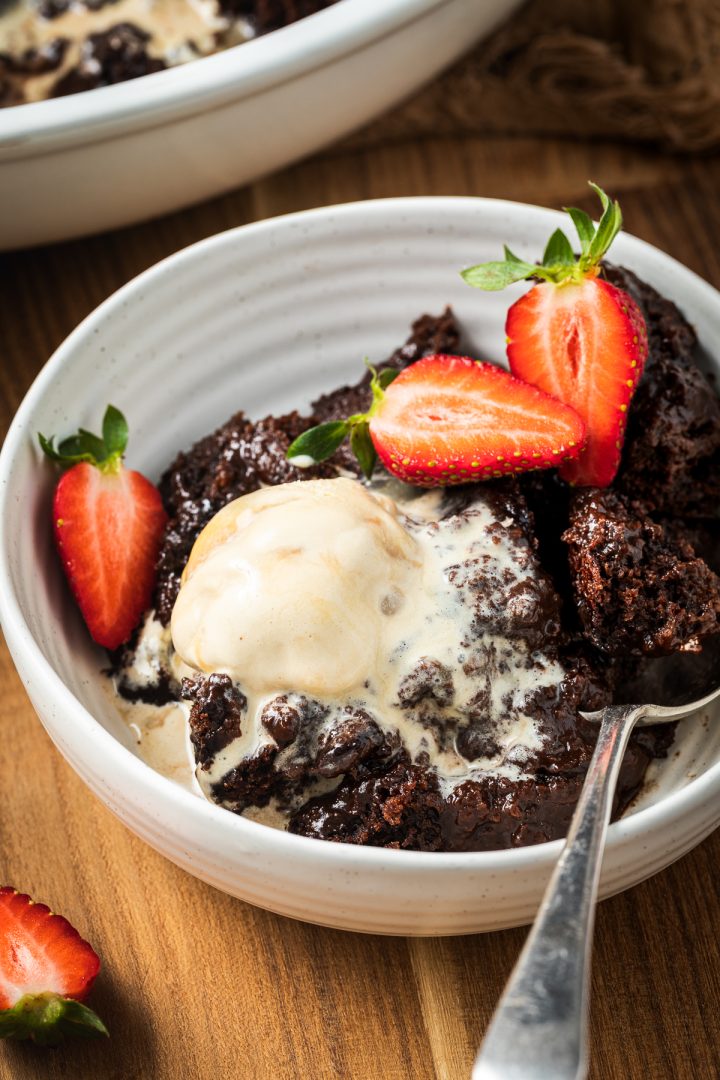
With a rich chocolate sponge above a pool of fudgy chocolate sauce, this chocolate self saucing pudding is a must try for chocolate fans! Served warm, with a scoop of cold vanilla ice cream, it is the ultimate comforting dessert!
A self saucing pudding is one of those old fashioned desserts that has stood the test of time. This classic recipe is based on my grandmother’s recipes, which she called ‘chocolate up and over pudding,’ but I have altered it slightly to create more chocolate sauce because to us, a self saucing pudding needs a decent amount of sauce! Like my banana self-saucing pudding, this easy self saucing pudding recipe is made with basic ingredients. The rich chocolate flavour comes from cocoa powder rather than expensive chocolate.
This is a dessert that is well received after a weekday dinner, yet impressive enough for a dinner party.
Jump to:
Newsletter

Ingredient notes and substitutions
Please scroll down to the recipe card at the end of the post for ingredient quantities.
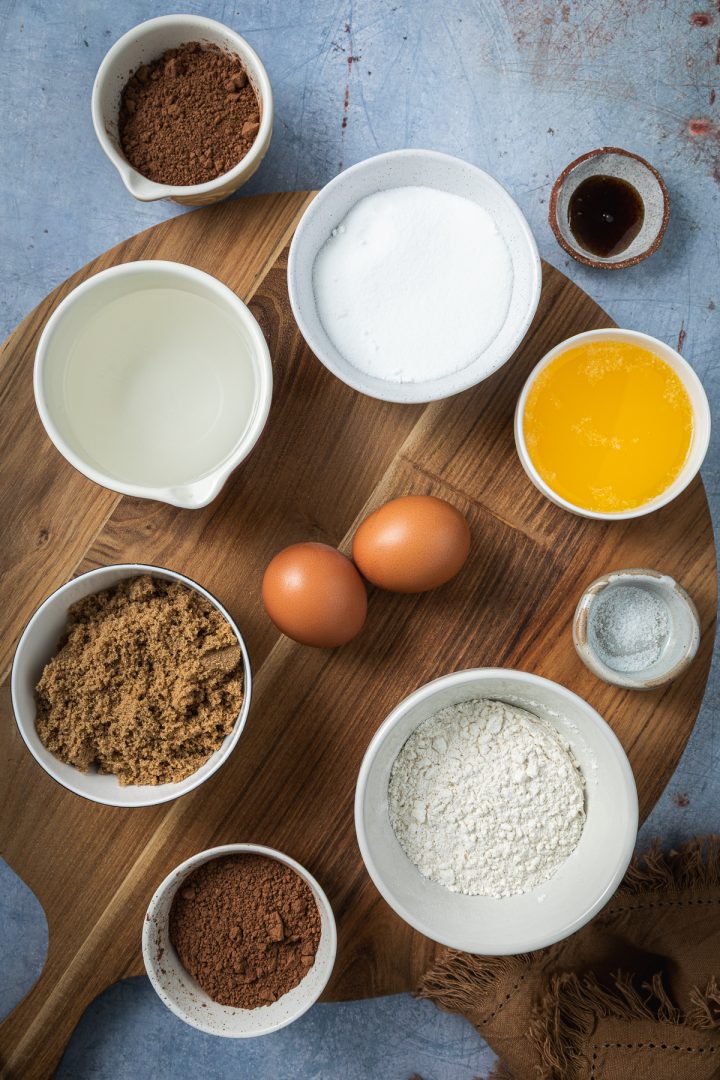
- Cocoa powder – I recommend using Dutch processed cocoa powder for the richest colour and flavour; however if you don’t have it to hand, normal cocoa powder will still make a delicious chocolate saucing pudding!
- Sugar – white sugar (granulated sugar is you’re in the UK) is used in the sponge, soft brown sugar is used to create a fudgy chocolate sauce.
- Butter – my gran’s recipe used softened butter rather than melted butter; however testing different methods we all agreed that the melted butter created a delicious texture to the dessert.
- Vanilla – I use vanilla bean paste as I love its flavour, however vanilla extract works just as well here.
How to make this self saucing chocolate pudding
Please scroll down to the recipe card at the end of the post for the full recipe.
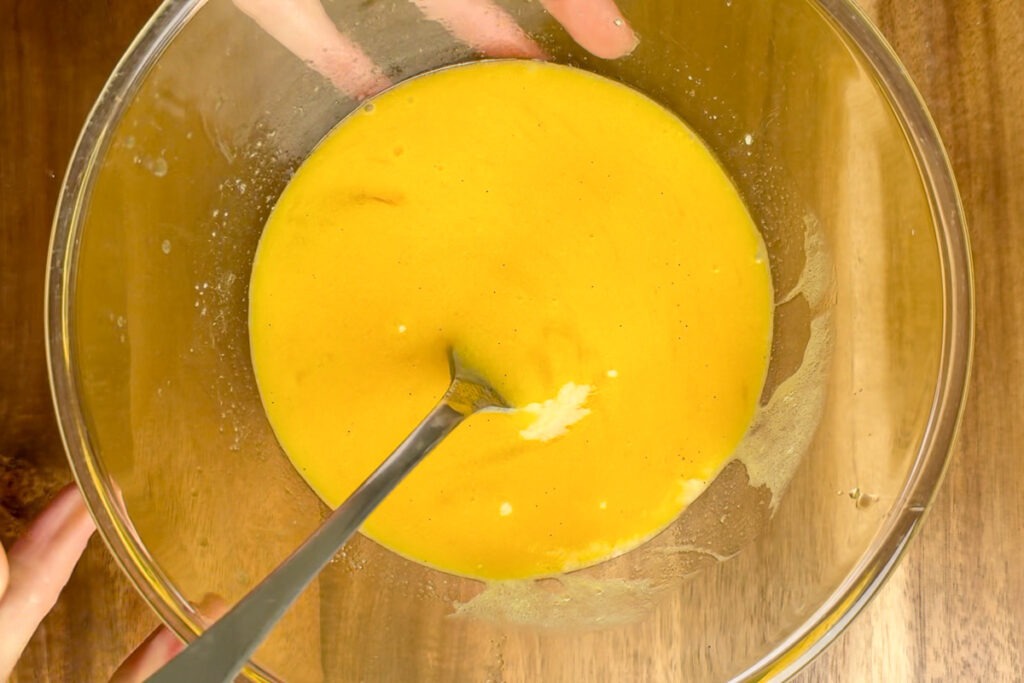
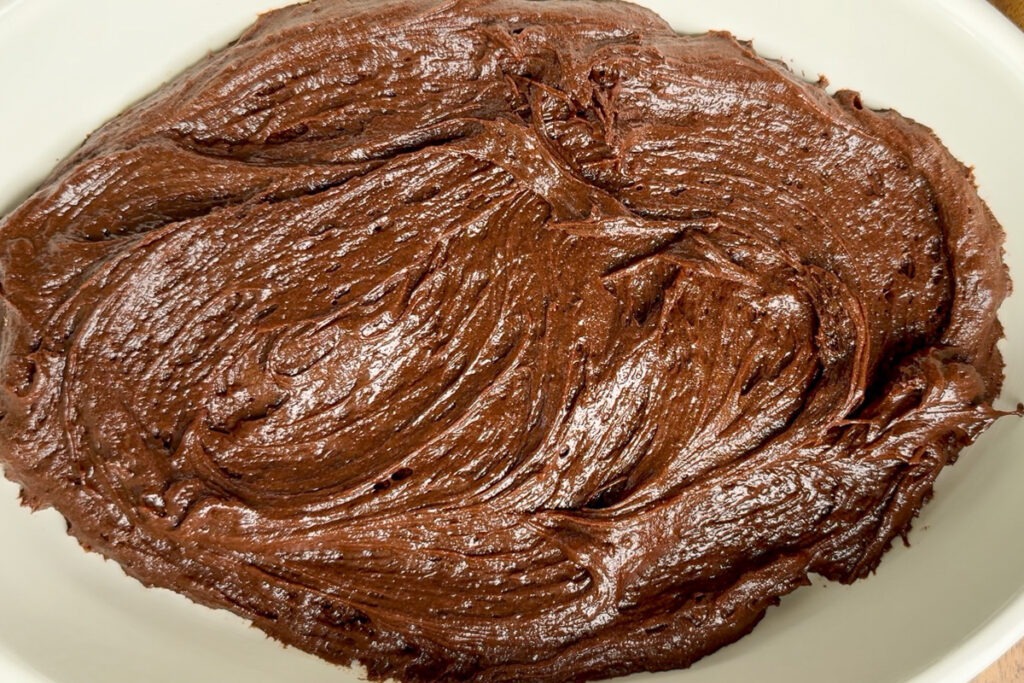
- Make the chocolate sponge: mix the melted butter with the sugar, eggs, and dry ingredients.
- Spread out into the greased oven proof dish. It looks like it won’t work at this stage; like the sponge batter amount won’t fill the dish, but trust me, it will!
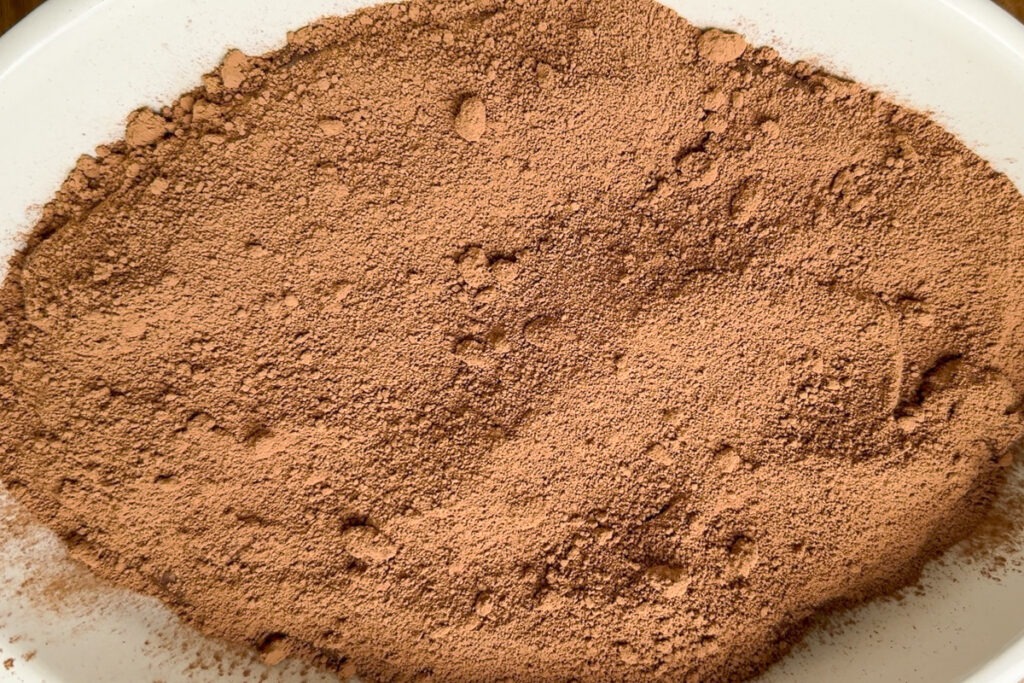
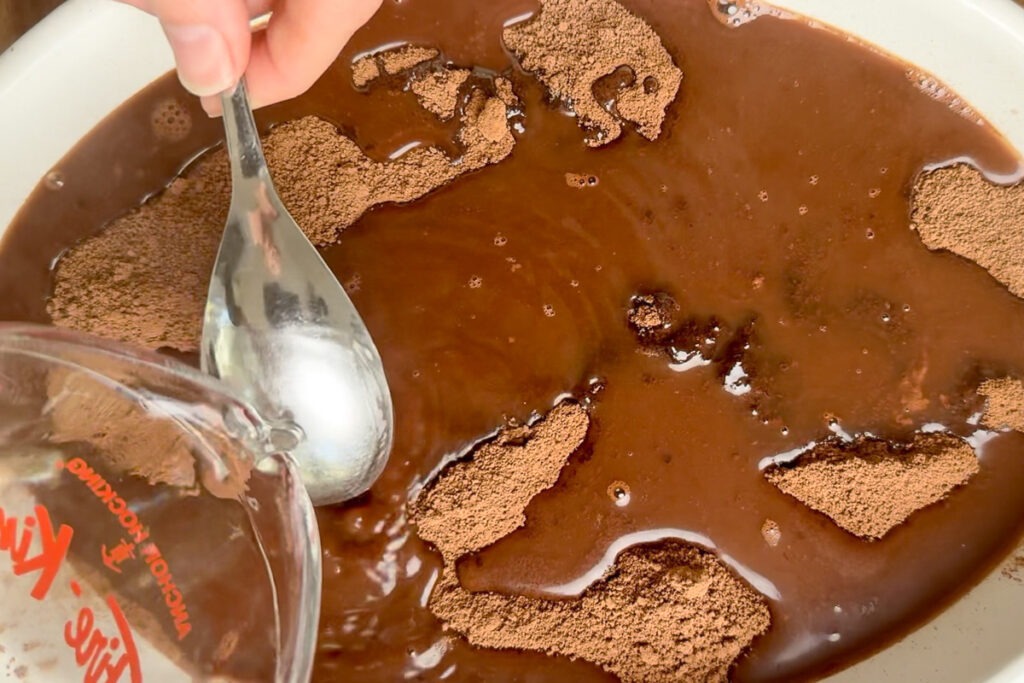
- Make the sauce: this is the clever bit! First, a mixture of sugar and cocoa powder is sprinkled over the chocolate sponge batter, and then boiling water is carefully poured over the top. Pouring the boiling water carefully over a spoon can help stop the top of the dessert from cracking. I don’t think this is the worst thing if it happens though!
- Bake: bake until the top of the pudding feels firm and spring back when gently pressed.

FAQ
The pudding will feel firm when gently pressed with your fingers, and should spring back. If the pudding feels wobbly, put it back in the oven for another 5-10 minutes.
No, I do not recommend freezing a self-saucing pudding as the sponge absorbs the sauce as it sits, resulting in a dense pudding without sauce. If you really need to freeze it, separate the sponge layer from the sauce and freeze separately.
Serving Ideas
Serve this chocolate pudding with a scoop of vanilla or passionfruit ice cream. Or as in these images, salted caramel ice cream – what a combination! Or drizzle with fresh cream. I also love to top it with some fresh berries like strawberries or raspberries to cut through the richness.
Why not try…
You may also like these other easy dessert recipes:


Comforting Chocolate Self-Saucing Pudding
Author: Robyn
Equipment
- 25 x 17 x 5 cm / 10 x 7 x 2 inch baking dish
Ingredients
- 115 g butter melted and cooled
- 2 eggs
- 1 teaspoon vanilla bean paste
- 85 g self-raising flour
- 30 g cocoa powder
- pinch salt
- 110 g caster sugar
Sauce
- 110 g brown sugar
- 30 g cocoa powder
- 310 ml boiling water
Instructions
- Preheat oven to 160℃ fan / 180℃ / 350℉.
- Lightly grease a 25 x 17 x 5 cm / 10 x 7 x 2 inch baking dish with butter.
Make the chocolate sponge batter
- In a bowl or jug whisk the cooled melted butter with the eggs and vanilla using a fork.
- In a separate bowl, combine the flour with the cocoa powder, salt and white sugar. Stir well to combine.
- Slowly add the butter and egg mixture to the dry ingredients and stir until smooth.
- Pour into the greased baking dish and lightly spread out to the edges (it will look as thought there isn't enough batter but there is!).
Make the sauce
- Mix the brown sugar and cocoa powder together and sprinkle this all over the chocolate sponge batter.
- Using a spoon, carefully pour over the boiling water, using the spoon to soften the flow of the water (this helps prevent the top of the baked sponge from cracking – it still tastes delicious if it does crack!).
- Bake for 40-45 minutes until the top of the sponge springs back when gently pressed in the centre.
- Stand for a couple of minutes – but not too long! Then serve with ice cream or cream.
Notes
- Cocoa powder – I recommend using Dutch processed cocoa powder for the richest colour and flavour; however if you don’t have it to hand, normal cocoa powder will still make a delicious chocolate saucing pudding!
- Sugar – white sugar (granulated sugar is you’re in the UK) is used in the sponge, soft brown sugar is used to create a fudgy chocolate sauce.
- Butter – my gran’s recipe used softened butter rather than melted butter; however testing different methods we all agreed that the melted butter created a delicious texture to the dessert.
- Vanilla – I use vanilla bean paste as I love its flavour, however vanilla extract works just as well here.
Nutrition
HAVE YOU MADE THIS RECIPE?
I’d love to see your creation!
Or just leave a comment below!
Ingredients
- ½ c butter melted and cooled
- 2 eggs
- 1 teaspoon vanilla bean paste
- ½ c plus 2 teaspoons self-raising flour
- ¼ c cocoa powder
- pinch salt
- ½ c caster sugar
Sauce
- ½ c brown sugar
- ¼ c cocoa powder
- 1½ c boiling water
Instructions
- Preheat oven to 160℃ fan / 180℃ / 350℉.
- Lightly grease a 25 x 17 x 5 cm / 10 x 7 x 2 inch baking dish with butter.
Make the chocolate sponge batter
- In a bowl or jug whisk the cooled melted butter with the eggs and vanilla using a fork.
- In a separate bowl, combine the flour with the cocoa powder, salt and white sugar. Stir well to combine.
- Slowly add the butter and egg mixture to the dry ingredients and stir until smooth.
- Pour into the greased baking dish and lightly spread out to the edges (it will look as thought there isn't enough batter but there is!).
Make the sauce
- Mix the brown sugar and cocoa powder together and sprinkle this all over the chocolate sponge batter.
- Using a spoon, carefully pour over the boiling water, using the spoon to soften the flow of the water (this helps prevent the top of the baked sponge from cracking – it still tastes delicious if it does crack!).
- Bake for 40-45 minutes until the top of the sponge springs back when gently pressed in the centre.
- Stand for a couple of minutes – but not too long! Then serve with ice cream or cream.
Notes
- Cocoa powder – I recommend using Dutch processed cocoa powder for the richest colour and flavour; however if you don’t have it to hand, normal cocoa powder will still make a delicious chocolate saucing pudding!
- Sugar – white sugar (granulated sugar is you’re in the UK) is used in the sponge, soft brown sugar is used to create a fudgy chocolate sauce.
- Butter – my gran’s recipe used softened butter rather than melted butter; however testing different methods we all agreed that the melted butter created a delicious texture to the dessert.
- Vanilla – I use vanilla bean paste as I love its flavour, however vanilla extract works just as well here.
Nutrition
HAVE YOU MADE THIS RECIPE?
I’d love to see your creation!
Or just leave a comment below!
Let me know your thoughts!