

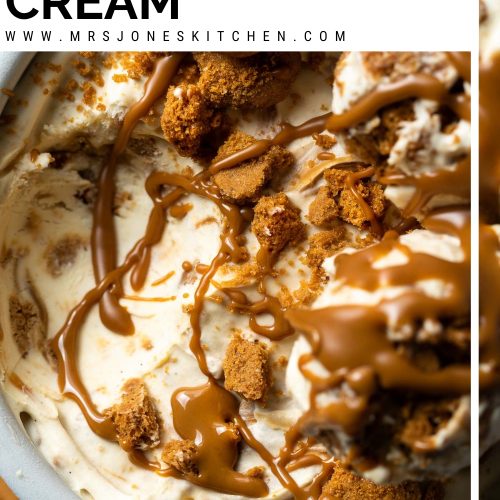
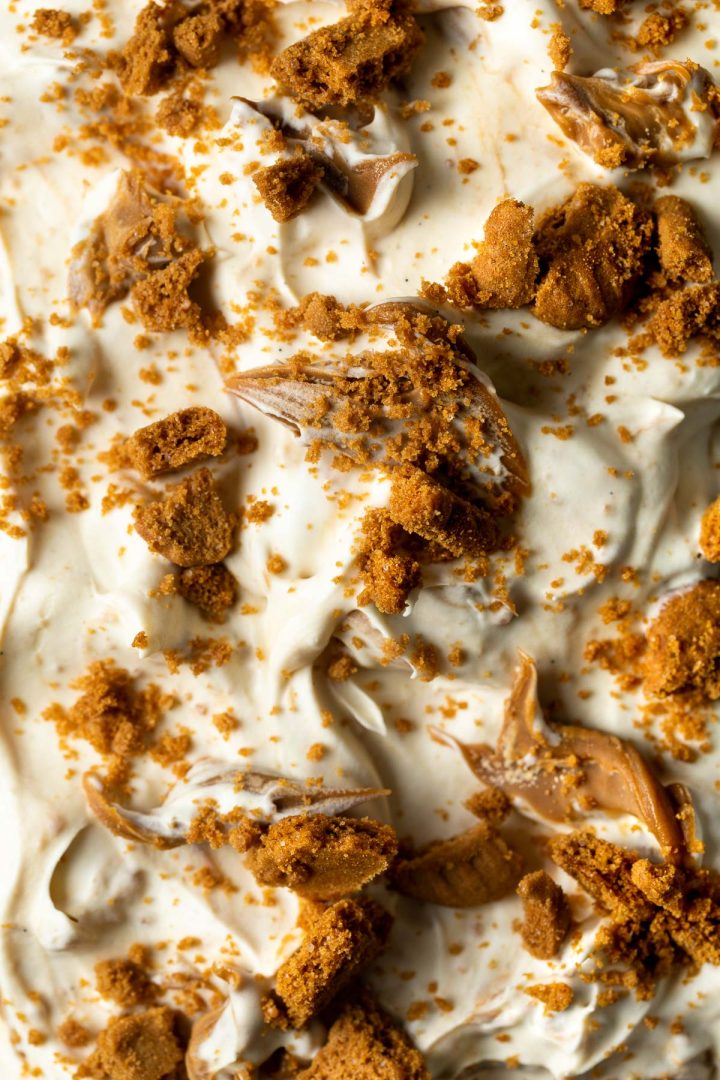
This no churn Biscoff ice cream recipe is packed with crunchy Lotus Biscoff cookies and swirls of sweet Biscoff spread to create an ice cream that is packed with Biscoff flavour.
Enjoy on its own or add a scoop to hot apple crumble for the most delicious comforting dessert!
It is no secret that my family are huge fans of Lotus Biscoff biscuits and Biscoff spread. From making the simplest 3 ingredient Biscoff butter cookies and 3 ingredient Biscoff truffles, to the most delicious Biscoff cheesecake, they are ingredients we use on a regular basis.
Jump to:
Why we love this recipe
- This is a no churn ice cream recipe, so you don’t need an ice cream maker to make it.
- Using the same base as this no churn passionfruit ice cream, this Biscoff ice cream recipe could not be easier to make!
- It is made with just 5 ingredients.
- This ice cream is not only so good served on its own or in an ice cream cone, but makes a delicious side to many desserts. See the ‘Serving Ideas’ section below for a few of our favourite ways to serve this ice cream.
Newsletter

Ingredient notes and substitutions
Please scroll down to the recipe card at the end of the post for ingredient quantities.
- Cream – thickened cream, double cream or heavy whipping cream.
- Sweetened condensed milk – I recommend using the full fat and full sugar condensed milk as this makes the creamiest ice cream with a richer flavour.
- Lotus Biscoff cookies – you could use speculoos cookies or ginger biscuits as an alternative to Biscoff cookies.
- Lotus Biscoff cookie butter – I prefer to use the smooth cookie butter but you can use crunchy cookie butter if you prefer.
- Vanilla – vanilla bean paste or vanilla extract. This makes the base into a vanilla flavoured ice cream. However I have made this Biscoff ice cream without vanilla and it still tastes delicious!

How to make Biscoff ice cream from scratch
Please scroll down to the recipe card at the end of the post for the full recipe.
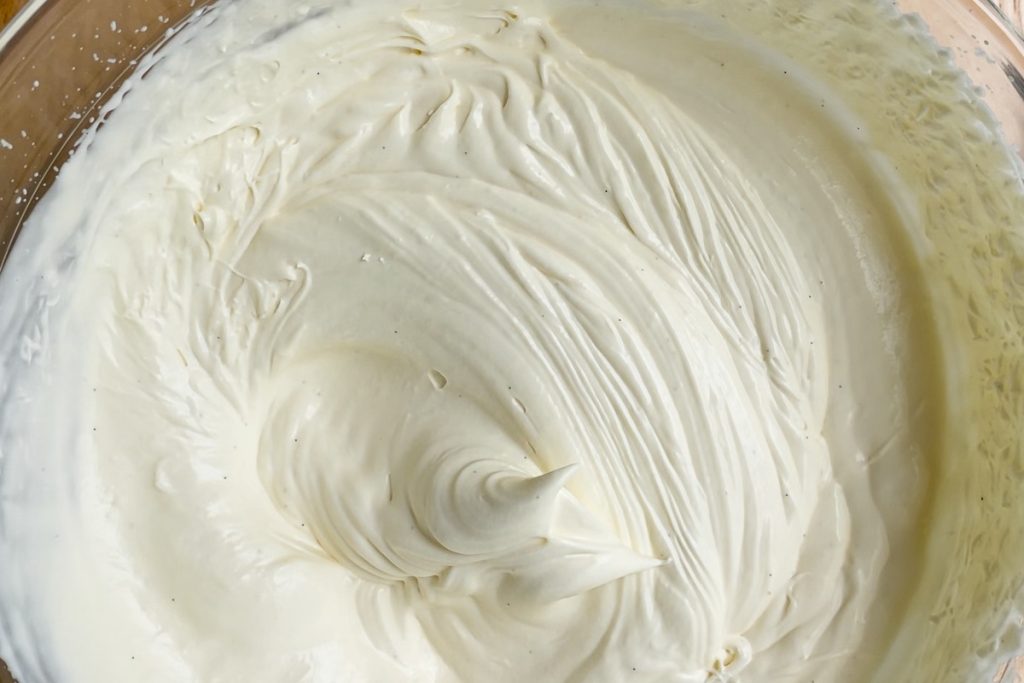
- In a large mixing bowl, whisk the cream condensed milk and vanilla and with a hand-whisk or electric mixer. Whisk until thick (see the first image below).
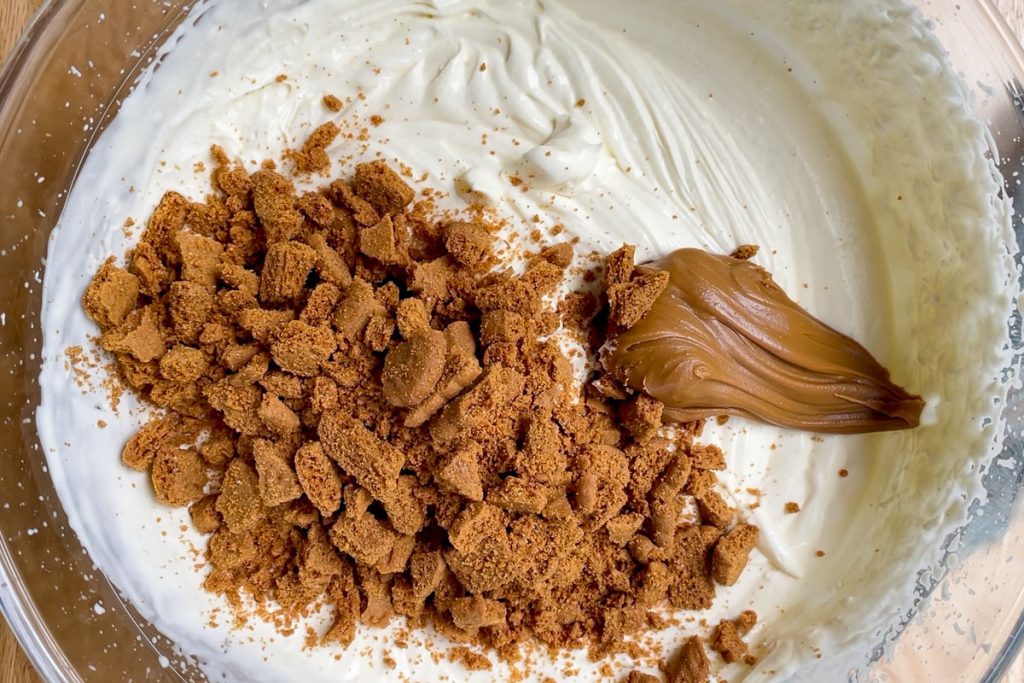
- Roughly break the Biscoff biscuits and lightly fold in to the cream mixture with the Biscoff cookie butter.
- TIP: Don’t crush the biscuit crumbs too finely – you want crunchy bursts of biscuit in the ice cream.
- TIP: Don’t stir the spread / cookie butter in too much as you want pronounced swirls.
- Pour the ice cream mixture into a freezer-safe container.
- Decorate with extra Biscoff spread and cookies and place in the freezer to set.


FAQ
A freezer-proof plastic container like a Tupperware with a lid is great for freezing ice cream in as the lid helps protect the ice cream from getting freezer burnt. You can also use a loaf pan and wrap it with cling film.
Condensed milk takes the place of the sugary egg custard that is often used as the base of ice cream. Because condensed milk contains less water, you don’t need to churn it to remove the ice crystals like you do in traditional ice cream.
My recipe tips
- When breaking up the biscuits – leave some chunks, around 1 cm / 0.5 inches in size, as these will add crunch and bursts of flavour.
- When stirring in the cookie butter – don’t mix too much as you want rich bursts of cinnamon Biscoff flavour amongst the creamy ice cream.
- You can also make this ice cream in a stand mixer with the whisk attachment.
- Allow the ice cream to stand at room temperature for 5 -10 minutes before serving, to make it easier to scoop out and serve.
- Don’t use low-sugar or low fat alternatives when making the ice cream. I have tested making the ice cream with both skim and reduced sugar condensed milk. With both the texture was not as smooth creamy as ice cream made with standard sweetened condensed milk.

Serving Ideas
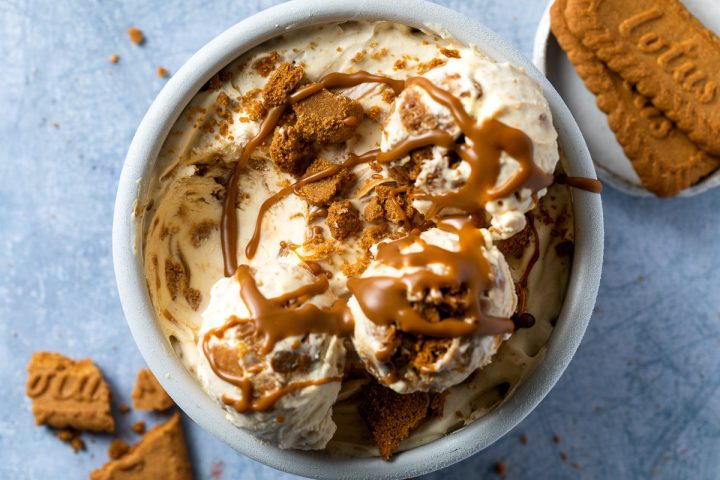
Biscoff ice cream is delicious on it’s own; a scoop or two in a bowl or in a cone, topped with extra Biscoff spread 😉 However Biscoff also pairs well with fruit:
- Try spooning some strawberry compote or mixed berry compote over your ice cream.
- Serve a scoop of ice cream with apple and blueberry crumble (so good!) or a bowl of hot stewed apples. The combination of hot and cold is so delicious!
- It also makes something special when teamed with banana waffles and sliced banana.
Make ahead/storage
Store the ice cream in the freezer for up to 8 weeks. Cover with a lid or wrap the tin well with cling film / cling wrap to prevent the ice cream from getting freezer burnt.
Variations
- Chocolate chips – add a handful of chocolate chips or chocolate chunks in with the cookie crumbs.
- Nuts – a handful of toasted and cooled roughly chopped almonds or hazelnuts would be an amazing addition to this ice cream, or some pecans or walnuts. Toasting them before adding to the ice cream base brings out their flavour.
Why not try…
You may also like these other easy Biscoff recipes:


No Churn Biscoff Ice Cream
Author: Robyn
Ingredients
- 600ml (2½ c) thickened cream double cream or heavy whipping cream.
- 400g (14 oz) sweetened condensed milk
- 1 teaspoon vanilla essence or vanilla bean paste
- 100g (3½ oz) Lotus Biscoff Cookies roughly broken
- 4 tablespoons Lotus Biscoff spread divided into 3 tablespoon and 1 tablespoon.
- 2-4 Lotus Biscoff cookies for the top, optional
Instructions
- In a large bowl whisk the cream with the sweetened condensed milk and vanilla essence / bean paste until thick and starting to form soft peaks using an electric whisk.
- Lightly stir through the roughly broken Biscoff biscuits and 3 tablespoons of the Biscoff spread, taking care not to mix the Biscoff spread in too much – you want to leave some visible swirls of the spread.
- Pour into a loaf tin or freezer-proof plastic container.
- Swirl the remaining Biscoff spread over the top and sprinkle with the extra cookies (optional).
- Place into the freeze and freeze for at least 5 hours, or until set.
- Bring out of the freezer 5-10 mins before serving to make it easier to scoop.
- The ice cream will keep in the freezer for up to 8 weeks, covered or wrapped well in clingfilm to protect against freezer burn.
Notes
Nutrition
HAVE YOU MADE THIS RECIPE?
I’d love to see your creation!
Or just leave a comment below!
Let me know your thoughts!